.
.
.
Showing posts with label Squash. Show all posts

Squash Cheese GNUDI and Rockefeller center


Simultaneously a savoury and sweet dish is derived from adding squash to cheeses
as eggs, spices and lightly sifted flour render delectable rustic bites.


Lately, I was fortunate enough to zigzag my way through the iconic sites of New York city.

Between 48th and 51st streets, Midtown Manhattan, I became quickly exhilarated as…
I sensed that around the corner I was to finally observe the Rockefeller center up close.

My expectations were met and surpassed with the bonus of Autumn and Winter decor.


This seasonal ice rink welcomes all nations to a very happy place.
So blissful I was that I seemed to quickly forget how sore my feet had become at this point. 
I couldn't pinpoint exactly what it was that turned me into such a jolly person.
Certainly having Hubby with me to enjoy this experience made it a memorable indeed.


There was so much going on at once.  
The Christmas decorations had just been put up at Saks Fifth avenue and provided...
a beautiful backdrop to the center aisle full of Autumn embellishments.


The skating rink was awash of bright, lovely flags waving an inviting open door policy to all.
The only one important item missing was the gigantic, iconic Christmas tree...not there yet.
Although, this would have made this trip perfect...it only gave me one more reason to come back.


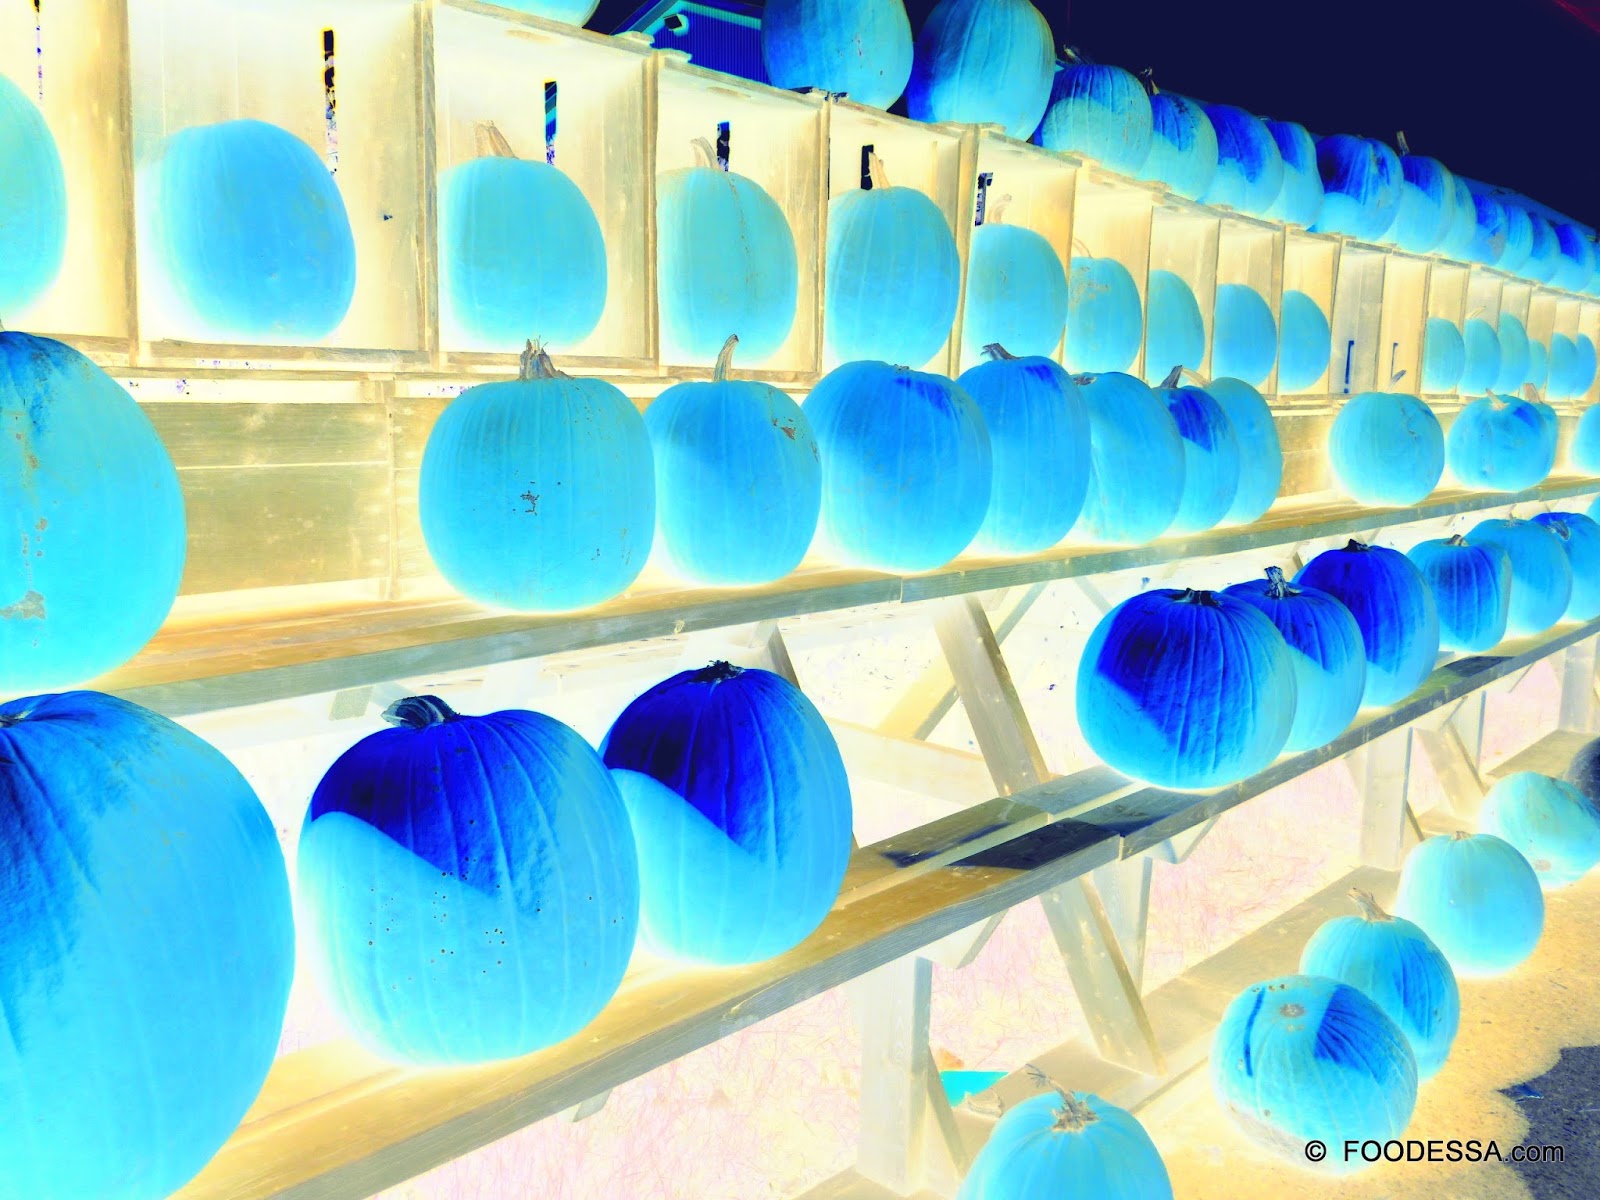
With all the pumpkins and squash abound…
how could I not think of making a few recipes integrating them once back in my kitchen.


Therefore, without further ado, here's my latest creation based on the Italian Gnudi.

Note: Gnudi (cheese type dumplings) just means to replace the regular 'Russet' type potato used in Gnocchi by the Ricotta (or similar textured) cheese.  Regular Gnocchi (potato dumplings) do not usually have a cheese component in its ingredients.


Gnudi (Nudi) Squash Cheese rustic dumplings

Yields about 48 rustic style size portions:
serves 4 main meals or 8 reasonable entrees
INGREDIENTS:
(Metric / American measures)

. 300g (10.5 oz.) full fat Ricotta cheese *
. 340g (12oz./ 1-1/2 cups) roasted Squash,** mashed
. 1 xLarge egg
. 1.25ml (1/4 tsp.) sea salt
. 1.25ml (1/4 tsp.) granulated garlic powder
. pinch of fresh grated nutmeg
. 50g (3/4/ cup) Parmesan cheese, grated
. 270g to 300g (2 1/4 to 2-1/2 cups) '00' flour ***
………………………………......................................
. 15ml (1 Tbsp.) sea salt for the boiling water
. garnish: extra Parmesan for serving


Some ingredient substitutions:

* Variation for soft cheese substitute:
Cottage cheese (full fat): to render a final weight of (300g /10.5oz.) you'll need (400g /14oz.) of Cottage cheese to start with.  Drain the cheese in a lined cotton cheese cloth sieve for at least 12 hours in order to extract the excess moisture.  It's best to blitz it in a blender along with the squash and egg.
OR…
* Dry Curd Cottage cheese: Can be used as is, however, it has to be blitz it in a blender along with the squash and egg.  Also note: only up to 210g (1-3/4) flour is needed.
………………………………........................

** This recipe used one medium butternut squash, cut in half, scooped out the seeds and roasted cut side down.  Placed them on a baking sheet with some olive oil brushed on the cut sides.  Roast for about 30 minutes at 375F/190C/Gas4.  Position the rack on the 2nd level from the bottom.
Variation for Squash substitute:
Sweet Potato: Use two small size potatoes.  Roast them whole, not forgetting to poke them first before roasting in a pre-heated 375F/190C/Gas4 oven.  Position the rack on the 2nd level from the bottom.
………………………………..........................
*** A '00' flour can be found in many grocery stores, specifically in the Italian section.  If not, a lighter flour such as 'cake' flour can be a good substitute.


PREPARATION:

1. In a medium bowl (or blender), mix the first 3 ingredients. Then, add and combine the remaining ingredients (except for the flour).
2. Afterwards, while mixing with a strong, Silicone spatula, SIFT in an initial generous portion of the flour.  Note: If the mix is still too moist and way too sticky, add in the remaining flour.
. At this point, it is best to cover and refrigerate the mix for about 1 hour so that it firms up for easier manipulation.


Cooking: (However optional…it is best to cook 24 dumplings in one cooking and then repeat with the rest).
3. Fill a large pot three quarters of the way with water and bring it to a boil, adding the salt last.
4. Then, while the water is boiling, either use a mini ice-cream scoop to portion out rustic style balls or simply use two spoons to make small walnut sizes.  Plop them in the water as quickly as you make them.  The ones that are almost cooked will float to the top (about 1 minute).  Once they are all at the surface, continue cooking for another 3 minutes.
5. Remove them with the aid of a slotted spoon into a serving bowl.  Mix in a warm or cold sauce of choice.  Serve with a generous garnish of Parmesan cheese.


Other sauce and accompaniment options:

1- simple:  generous drizzle of quality e.v.olive oil and grated Parmesan cheese.
2- Use any Pesto or Tomato sauce of choice and grated Parmesan cheese.
3. Gorgonzola melts well with hot Gnudi and other greens of choice added to the dish as well as a drizzle of finishing olive oil.
4. Saute the cooked Gnudi into a little butter and olive oil until lightly caramelized.  Can also be served together with some added greens of choice.  Season to taste.
5. Into some heated butter, saute some fresh Sage leaves and immediately add the cooked Gnudi until lightly caramelized.  Season to taste.


Although, we felt that Manhattan was squeezed, loud and extremely occupied, what an amazing time we had in this little part of the world.  Having been there over 30 years ago, I certainly felt that I was not going to have much more time pass by before planning another getaway.  There was so much more to see and unfortunately, so little time.

Since, I've been back, I admit on having gone a little squash overload, therefore, for now, this recipe will be the last I share until next year…I promise ;o)

Please enjoy the festivities to come and maybe, you will be inspired to try a squash recipe of your own.  Why not start with this one and let me know how it goes.


Flavourful wishes,
Foodessa

Comments ... ??? ... or suggestions ... write me :o)
Claudia at:  foodessa [at] gmail [dot] com

Go HERE for more SAVOURY creations.


Please take note on how I bake and cook...
Here’s a 101 of sorts to make sure that there are no disappointments when trying my creations.  
Also...just so you know...feel free to increase the salt and sweet factor since I'm not high on either of them ;o)

. Use DRY cup measurements for...you guessed it...all DRY ingredients.
Anything DRY gets measured by spooning the overfilled ingredient (never shake the cup) and then level off with a flat edged tool.  Exception...Brown sugar should be packed in and leveled.
. Use LIQUID cup measurements for...all LIQUIDS that cannot be leveled like for example butter, yogurt...etc.  Measure the liquids at eye level to avoid overdoing what the recipe truly needs.
OVENS are unfortunately not created equal.  Mine is so old that it has reached many degrees off it's norm.  It's really worth investing a few dollars to test yours with an appropriate oven thermometer.  You'd be surprised how many ovens I've heard about not being where they should have been.  Before you lose any more ingredients and much time preparing a new recipe...run to the store...you'll thank me later.

FALL in COOKIE serenity


Autumn slows us down to appreciate striking colors and delectable cookies.
From simplicity to rustic to fancier cookies…each memorable bite delights.


Almond Cinnamon cookies
Middle Eastern inspired.
Aromatic spice mellowed within an embrace of Almond goodness.
A tender inside protected by a pleasant outer crunch. 


no electric beater required

Yields 20 small cookies

Printer version

INGREDIENTS:
American / Metric measures

. 2 xLarge (80ml) egg whites (room temp.)
. 6 Tbsps. (100g) granulated sugar
. pinch of sea salt
. 1-1/4 cup (130g) Almond flour
. 1 Tbsp. (15ml) ground Cinnamon


PREPARATION:
. Pre-heat the oven to 350F/180C/Gas4.
. Prepare a large parchment lined baking sheet.  
. Position the rack in the center of the oven.

1. In a medium bowl, mix ALL ingredients until a combined paste is well formed. 
2. Use a teaspoon or better yet...use a small #60 (melon ball size) ice-cream scoop to properly portion 20 cookies.    Press the paste into the scoop, level and release.
3. Place them onto a cookie sheet and place them evenly apart. Note: these cookies don't spread...they'll remain the same size. 
4. BAKE for 15 minutes.  Remove the cookies from the oven and let them completely cool on the pan before transferring them onto a rack. 

Serving and storing:
These cookies will be ready to eat within the hour.  They are best eaten in their crunchier state.
Leave them uncovered in a plate for up to 5 days or freeze them into their original baking paper and into an airtight plastic freezer bag.  They never freeze solid, therefore, get them out for about 15 minutes and they'll be ready to serve.  


MOLASSES and SQUASH spice cookies
No Eggs

Makes about 20 large chewy texture cookies

Printer version

INGREDIENTS:
American measures

WET mix:
. 1/2 cup roasted Squash (weight measured) (Ambercup or Buttercup or Pumpkin puree)
. 1/4 cup unsalted butter, room temperature
. 1/8 cup grape seed oil
. 3/4 cup granulated sugar
. 1/4 cup blackstrap molasses
DRY mix:
. 2 cups all-purpose flour
. 1/2 tsp. baking soda
. 1/2 tsp. sea salt
Spices:
. 3/4 tsp. ground ginger
. 1-1/2 tsps. ground cardamom spice
. 1-1/2 tsps. ground cinnamon spice
. 1/4 tsp. ground cloves
. 1/2 tsp. fresh nutmeg, finely grated

coating for rolling:
. 3 heaping Tbsps. fine or coarse Turbinado sugar

Note: If not using blackstrap molasses and only have fancy molasses: use 1/2 cup sugar plus 1/4 cup fancy molasses.

 PREPARATION:
. Preheat the oven to 350F.
. Prepare 2 large, parchment lined baking pans.
. Position the rack in the center of the oven.

1.In a large bowl, on LOW-MED speed, beat the butter, oil, squash, sugar and molasses until combined and smooth.
2. In a medium bowl, whisk the flour, baking soda, salt and spices until blended.  Now, add this mix to the batter in three portions.  Keep scraping the bowl with a spatula.  Beat on medium speed only until all traces of flour have disappeared.  Do not over beat.  Refrigerate for about 1 hour.
Assembly:
3. Prepare a shallow pan and place the turbinado sugar for the coating.
4. Using a #30 (1-1/2 inch) medium ice-cream scoop and form packed and flattened portions to then release and hand roll.
5. Coat all the balls in the sugar and place 10 units per pan.  Gently flatten the balls with the bottom of a glass up to 1/2 inch high.
. BAKE for 16 minutes.  Cool the cookies for 5 minutes before transferring them to a rack to cool completely.
. Store them in an airtight cookie tin or freeze them into their parchment baking paper and into a  freezer bag.


 Squash Snickerdoodle shell cookies
No eggs

made about 30 cookies

Printer version

INGREDIENTS:
(American measures)

Part-1:
1-3/4 cups all-purpose flour
1 tsp. ground cinnamon
1/4 tsp. ground nutmeg
1/4 tsp. ground ginger
1/4 tsp. cream of tartar
1/8 tsp. baking soda
1/8 tsp. sea salt
Part-2
1/2 cup (1 stick) unsalted butter, softened
3/4 cup granulated sugar
1/4 cup brown sugar
1/2 cup mashed Squash or Pumpkin puree
1 tsp. pure vanilla extract
Coating:
6 Tbsps. granulated sugar
2 tsps. ground cinnamon spice


PREPARATION:
1. In a medium sized bowl, whisk together all the ingredients from Part-1.  Set aside.
2. In another medium bowl, using an electric mixer, beat the softened butter until creamy.  Add sugars and also beat until fluffy.  Add the mashed squash and vanilla and beat until well-combined.
3. Gradually put in the ingredients from Part-1, beating after each addition.  Transfer the dough to the freezer and chill for 30 minutes or refrigerate overnight.
. Preheat the oven to 375F.
. Line two large cookie sheets with parchment paper and set aside.
...Assembly:
4. In a medium, round pan, combine the coatings.
5. With the aid of a small melon ball size ice-cream scoop, form a few 1" balls and coat them very generously with the sugar-cinnamon blend.63. Place on prepared cookie sheet, then flatten slightly with the bottom a slotted spoon. 
Technique: At the start of the dough ball, press with the wider end of spoon.  As you flatten, rock and drop the cookie gently off the spoon.  Or, just flatten with a glass with a preferable patterned bottom.
7. BAKE for 8 minutes. Let them cool on cookie sheet for 5 minutes, then transfer to a wire rack to cool completely.  


Hopefully you'll have a chance to tear yourself away from the daily grind to...
enjoy what Mother Nature does best.  
Then, by all means go make those cookies and bake your heart out.


Flavourful wishes,
Foodessa

Comments ... ??? ... or suggestions ... write me :o)
Claudia at:  foodessa [at] gmail [dot] com

Go HERE for more SWEET creations.


Please take note on how I bake and cook...
Here’s a 101 of sorts to make sure that there are no disappointments when trying my creations.  
Also...just so you know...feel free to increase the salt and sweet factor since I'm not high on either of them ;o)

. Use DRY cup measurements for...you guessed it...all DRY ingredients.
Anything DRY gets measured by spooning the overfilled ingredient (never shake the cup) and then level off with a flat edged tool.  Exception...Brown sugar should be packed in and leveled.
. Use LIQUID cup measurements for...all LIQUIDS that cannot be leveled like for example butter, yogurt...etc.  Measure the liquids at eye level to avoid overdoing what the recipe truly needs.
OVENS are unfortunately not created equal.  Mine is so old that it has reached many degrees off it's norm.  It's really worth investing a few dollars to test yours with an appropriate oven thermometer.  You'd be surprised how many ovens I've heard about not being where they should have been.  Before you lose any more ingredients and much time preparing a new recipe...run to the store...you'll thank me later.


SQUASH rustic pull apart BREAD buns


Butternut squash realizes down time with sweet, mild honey.
Elegant lines gave way to a more relaxed, rustic tug from enthusiastic hands.


A slight chill in the air and the carb addict in me just couldn't wait to make bread.
Not just any bread.  
An enticing pull apart bread which gifted us warm, delicious buns.


Throughout our Laurentian region in Quebec...
the colors have yet to shine their rainbow.


The unexpected warmer weather has dampened the picturesque scenery we're used to.
However, no matter, the Autumn has definitely started painting its palette.
Enjoy some photos of Val David, Laurentian.


Any starchy, baked Squash pulp will work wonderfully in these buns.
Don’t have Semolina flour...no worry...just replace it with plain flour.
This recipe is fairly forgiving.  Now, let's get baking.


SQUASH rustic pull apart bread buns

yields 15 medium buns


INGREDIENTS:
(American / Metric measures)

YEAST liquid:
. 1 Tbsp. (15ml) active dry yeast (aka 'Traditional')
. 2 tsps. (10ml) granulated sugar
. 1/2 cup (125ml) warm water (~110F/ 43C)

WET mix:
. 3 xLarge eggs
. 3 Tbsps. (45ml) mild honey
. 1 cup (250ml) roasted, Butternut squash, mashed
    
DRY mix:
. 3-1/2 cups (560g) A.P. flour
. 1 cup (165g) fine Semolina flour
. 1/4 cup (30g) ground flaxseed
. 1 Tbsp. (15ml) sea salt


PREPARATION:
. YEAST liquid:  
1. In a medium sized measuring cup, pour the  warm water (~110F/ 43C).    Add the sugar and yeast to the water.  Give it a good whisk to dissolve. Lightly cover with plastic wrap and place it into a draft-free area like a turned off oven.  Let the yeast properly foam and activate for about 10 minutes.

. WET mix:
2. In a large measuring cup, lightly whisk the eggs.  Add and whisk in the honey and squash.  Set aside.  

. DOUGH: 
3. Place the flour(s), flaxseed and salt into the mixing bowl of a food processor / mixer.  Use the dough attachment and adjust to a MEDIUM speed (#2 for most).
4. Start whirling the flour mix before very slowly pouring the yeast liquid through the top spout.
5. Now, gradually pour in the egg and squash mix.
6. The dough is ready pretty quickly as it pulls back from the sides of the bowl and forms a ball.  Let the machine run for another 3 minutes. 

. PROOF - DOUGH at REST: 
7. Turn the dough into a large and generously oiled bowl. Let it rise with a plastic wrap tightly covering the bowl, topped with a tea towel. Place it into a draft-free oven and let it rise to double for 1 hour. 
8. Take the dough out to "punch" it down in order to release its gases.  Place the covered bowl back into the oven to have it continue rising for another 15 minutes.  


. ASSEMBLY:  
9. Lightly oil a very large, rectangular pan. Then, lightly flour a parchment paper to place the risen dough.  Roll it into a log and slice it into 15 even pieces.  Roll each piece into rustic balls and place them in the pan with reasonable space in between.  Cover the pan with an oiled plastic wrap and then also add a towel over top. This time, give them a chance to rise on the counter.   A proper rising will take 1-1/2 hours.  

. BAKING:
. Position the rack at the bottom of the oven.  
. Pre-heat the oven to 350F/180C/Gas4.  
. BAKE for 30 minutes in a dark pan or 25 minutes in a lighter one.  The buns should have turned golden brown. 
. Remove pan and let the buns cool for about 15 minutes before flipping the whole pan onto a large metal rack.  Afterwards, re-flip the buns again.  About 15 minutes later, gently pull the bread buns apart.  Note: These buns freeze very well.


 After a little nature stretch...some kitchen time is awaiting...
especially with the Canadian Thanksgiving right around the corner.  

Warm bread out of the oven anyone? 
A great pull apart bread to kick in some fun at the table.

Flavourful wishes,
Foodessa


Comments ... ??? ... or suggestions ... write me :o)
Claudia at:  foodessa [at] gmail [dot] com

Go HERE for more SAVOURY creations.


Please take note on how I bake and cook...
Here’s a 101 of sorts to make sure that there are no disappointments when trying my creations.  
Also...just so you know...feel free to increase the salt and sweet factor since I'm not high on either of them ;o)

. Use DRY cup measurements for...you guessed it...all DRY ingredients.
Anything DRY gets measured by spooning the overfilled ingredient (never shake the cup) and then level off with a flat edged tool.  Exception...Brown sugar should be packed in and leveled.
. Use LIQUID cup measurements for...all LIQUIDS that cannot be leveled like for example butter, yogurt...etc.  Measure the liquids at eye level to avoid overdoing what the recipe truly needs.
OVENS are unfortunately not created equal.  Mine is so old that it has reached many degrees off it's norm.  It's really worth investing a few dollars to test yours with an appropriate oven thermometer.  You'd be surprised how many ovens I've heard about not being where they should have been.  Before you lose any more ingredients and much time preparing a new recipe...run to the store...you'll thank me later.

SQUASH Goat CHEESE Tarragon BISCOTTI


Squash, pumpkin or sweet potato make perfect partners within these creamy cheese biscotti.
Aromatic herbs or seeds can easily replace the French tarragon in this crunchy bite.


We just got our first mini snowfall and yet...I have barely...
planned what I'll be making for the upcoming Christmas festivities. 
Has anyone really?  If you have...I do forgive you.


What I have done is hosted a small dinner where I had the chance to showcase these biscotti.
We have had them bread-like as well as rendered into this favourite biscotti texture.
They are simple to make and look beautiful served alongside a cheese platter.


Have them accompany your favourite soup or a stuffed squash and you have a quick week night meal.
Give them a try...they will not disappoint.


Squash Goat Cheese Tarragon biscotti

Note: If wanting to keep it bread-like...
just do not re-bake them to make biscotti.  Excellent as well.

makes about 18-20 biscotti

PRINTER VERSION


INGREDIENTS:
(American / Metric measures)

Part-1:
. 1/4 cup/ 2.2oz. (60g) unsalted butter, softened
. 1/2 cup/ 4.5oz. (125g) mild Goat cheese*, softened
. 1/2 cup (125ml) roasted Squash** room temp.
. 2 xLarge eggs, room temp.
. 1 Tbsp. (15ml) granulated sugar
Part-2:
. 2 cups (330g) All-Purpose flour
. 1-1/2 tsps. (7.5ml) baking powder
. 1 tsp. (5ml) sea salt
. 1/2 tsp. (2.5ml) granulated garlic powder
. 2 Tbsps. (30ml) dried Tarragon*** crushed

SUGGESTIONS:
* Cream cheese can be used instead of Goat cheese.
** Preference of Squash variety: Ambercup, Buttercup or Butternut.  Also, Pumpkin and Sweet Potato can be used successfully.
*** Dried Tarragon can be replaced by Basil, Oregano, Rosemary or crushed fennel seed. 


GLUTEN-FREE VERSION:  2 cups of all-purpose flour can be replaced with 2 cups (330g) of chickpea flour added to 1/4 cup (28g) arrowroot starch plus 2 tsps. (10ml) apple cider vinegar.

VARIATION with great results:
Use Cream cheese and the following seasonings: 1/2 tsp. (5ml) anise seed (crushed), 1/2 tsp. (5ml) mustard powder, 1/2 tsp. (2.5ml) mild paprika, 1/4 tsp. (1.25ml) freshly grated nutmeg.


PREPARATION:
1. In a large bowl, put together ALL the ingredients from Part-1. 
Let them soften to room temperature.  This will take at least 1 hour.
...
. Pre-heat oven to 350F/180C/Gas4.  
If using a dark colored pan: lower the heat to 325F/160C/Gas3.
. Position the rack in the center of the oven.
. Parchment line a large baking sheet or use a Silicone pad (preferred).


2. Right before getting ready to make the dough, combine ALL ingredients from Part-2 in a medium bowl and set aside.
3. With an electric beater, combine the softened ingredients from Part-1 until somewhat fluffy. 
4. On LOW speed, add and beat in the ingredients from Part-2 .  Finish by using a strong spatula to bring the dough together. The dough should be thick enough to handle.  Note: this mix can also be made ahead of time by wrapping it  into a plastic wrap and into the refrigerator for up to a day.
5. Pat down the dough and place it in your hand to slightly shape it into a thick log of sorts.
6. Place it onto the parchment paper and carefully shape a 4x12 inch (10x30cm) long rectangle.  Work it gently until it becomes a compact package.
7. BAKE it for the first 35 minutes.  Remove it from the oven and let it cool on the pan for 15 minutes.  Transfer the baked log onto a board to carefully slice it on the bias into 1/2 inch (1.5cm) thick pieces. 
8. Gently place the cookies back onto the baking pan with the cut sides down.  BAKE AGAIN for only 20 more minutes.  Again, remove the pan from the oven and cool for 5 minutes before transferring biscotti onto a rack to cool.
. Store them into a cookie tin for about 2 weeks or freeze for longer periods.  Enjoy.


To all my American friends, enjoy giving thanks during this upcoming holiday.

All the very best in the upcoming weeks of craziness ahead ;o)

Flavourful wishes,
Foodessa


Comments ... ??? ... or suggestions ... write me :o)
Claudia at:  foodessa [at] gmail [dot] com

Go HERE for more SAVOURY creations.


Please take note on how I bake and cook...
Here’s a 101 of sorts to make sure that there are no disappointments when trying my creations.  
Also...just so you know...feel free to increase the salt and sweet factor since I'm not high on either of them ;o)

. Use DRY cup measurements for...you guessed it...all DRY ingredients.
Anything DRY gets measured by spooning the overfilled ingredient (never shake the cup) and then level off with a flat edged tool.  Exception...Brown sugar should be packed in and leveled.
. Use LIQUID cup measurements for...all LIQUIDS that cannot be leveled like for example butter, yogurt...etc.  Measure the liquids at eye level to avoid overdoing what the recipe truly needs.
OVENS are unfortunately not created equal.  Mine is so old that it has reached many degrees off it's norm.  It's really worth investing a few dollars to test yours with an appropriate oven thermometer.  You'd be surprised how many ovens I've heard about not being where they should have been.  Before you lose any more ingredients and much time preparing a new recipe...run to the store...you'll thank me later.


Teal PUMPKIN for ALLERGY FREE muffins


TEAL your PUMPKIN for ALLERGY-FREE treat sharing.
Light, moist and delicious squash coconut chocolate raisin muffin treats.


There comes a time where we absolutely need to pass the word around.
Actually, an important message which can assist children to avoid detrimental consequences.


A fabulous global initiative has taken root...
and waves a relief are being shared by parents.


DAIRY, GLUTEN, NUTS as well as EGGS... 
can be life threatening to many kids.
During certain events like party get togethers and especially Halloween...
kids find themselves deprived of enjoying so much of the fun relating to certain foods.


This one crucial message has been passed around the world through a fantastic venue named:
 TEAL PUMPKIN PROJECT
A project originated by the Food Allergy Research and Education (FARE)
For tons of pertinent info on this project...please refer to their site.
***


I wanted to do my small part by developing this small muffin treat.

Squash Pumpkin Coconut Chocolate Raisin muffins
Allergy-Free

(no mixer needed)

Yields 12 small muffins


INGREDIENTS:
(American measures)

Wet mix:
. 1/4 cup applesauce (or mashed banana)
. 1/4 cup vegetable oil (grapeseed preferred)
. 1/2 cup coconut palm sugar
. ground flax (or chia) seed mix*
. 1 cup squash (Buttercup or Ambercup or sweet pumpkin), mashed
. 1 tsp. apple cider vinegar
DRY:
. 1-1/4 cup coconut flour
. 1/8 cup arrowroot (or tapioca) starch
. 1 tsp. baking powder
. 1/2 tsp. baking soda
. 1/4 tsp. sea salt
SPICE mix:
. 1 tsp. ground cinnamon
. 1/2 tsp. each ground ginger and cardamom
. 1/4 tsp. each ground cloves and nutmeg
Add-ins:
. 1/2 cup bittersweet chocolate chips
. 1/2 cup dried raisins

* Flax (or Chia) seed mix replaces 1 xLarge egg: . Stir together 1 Tbsp. of ground flax (or Chia) seed with 3 Tbsps. of water.  Have it set in the fridge for 15 minutes to get a sticky like texture. 

PREPARATION:
. Line one 12 cavity muffin pan with cupcake paper liners.  Will be oil sprayed at the very last minute.
. Position rack in the center of the oven.   Pre-heat the oven to 350F.

1. In a large bowl, cream together the applesauce, oil and sugar.  Whisk in the flax (or chia) mix, the mashed squash and apple cider vinegar.  Set aside.
2. In a sieve placed over a parchment paper or bowl, put together all the DRY ingredients.  Sift over the WET ingredients and blend well with a spatula.  Do not over mix.  Lastly, integrate the add-ins.
3. In the cupcake paper liners, spray a generous squirt of vegetable oil.
4. Immediately, with the use of an ice-cream scoop measure out the 12 cavities evenly.
5. BAKE for 22 minutes in a dark pan (a few minutes more in a lighter pan).  Remove the muffins from the pan as soon as possible and onto a metal rack.  Enjoy.


Whether you offer allergy-free candy or non-food related items at your events...
you're sure to place a glowing smile on the faces of many children.

For so little effort, you'll feel great about doing your small part to keep kids safe.
Enjoy your Halloween festivities.

Flavourful trick-or-treating,
Foodessa


Comments ... ??? ... or suggestions ... write me :o)
Claudia at:  foodessa [at] gmail [dot] com

Go HERE for more SWEET creations.


Please take note on how I bake and cook...
Here’s a 101 of sorts to make sure that there are no disappointments when trying my creations.  
Also...just so you know...feel free to increase the salt and sweet factor since I'm not high on either of them ;o)

. Use DRY cup measurements for...you guessed it...all DRY ingredients.
Anything DRY gets measured by spooning the overfilled ingredient (never shake the cup) and then level off with a flat edged tool.  Exception...Brown sugar should be packed in and leveled.
. Use LIQUID cup measurements for...all LIQUIDS that cannot be leveled like for example butter, yogurt...etc.  Measure the liquids at eye level to avoid overdoing what the recipe truly needs.

OVENS are unfortunately not created equal.  Mine is so old that it has reached many degrees off it's norm.  It's really worth investing a few dollars to test yours with an appropriate oven thermometer.  You'd be surprised how many ovens I've heard about not being where they should have been.  Before you lose any more ingredients and much time preparing a new recipe...run to the store...you'll thank me later.